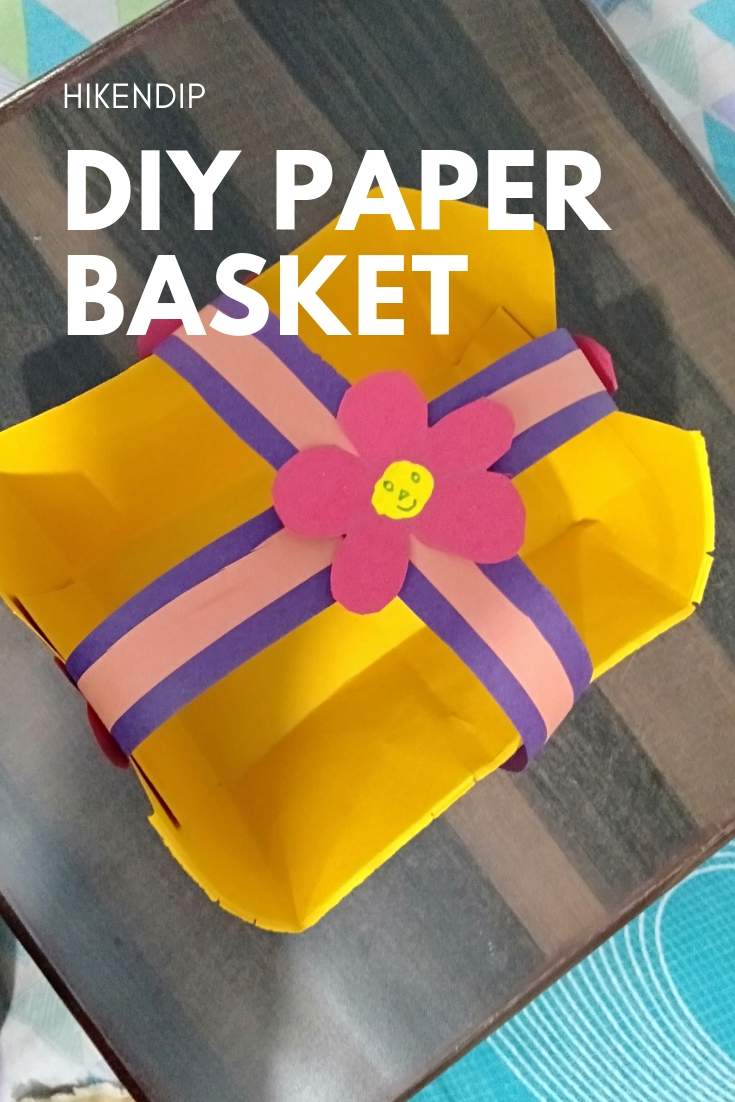
Paper crafts are really fun to do. When was the first time that you ever indulged in a papercraft? That was way back during School days right! Me too. In school, we were taught to make so many things using paper. Then recently it was the Easter season and I was wondering to myself, how do I make a paper basket. I wanted to give paper DIY Easter baskets to the kids in my neighborhood. So, that was when this idea struck to me to make Paper Baskets.

So, there I was hitting the craft store to get my supplies and within two hours I finished making this Paper Basket. It's so easy to make. You can use it as favor bags or as baskets to give chocolates or candies to kids. You can also fill it in with some flowers and decorate it as a centerpiece for your home.

The uses of this basket are totally up to you. From storing candies to your craft supplies, this is really multifunctional and strong as well. Moreover, it looks so gorgeous! After I made this everyone is just asking me with questions as to how to make it.

So, I thought of sharing it in detail as to how I made this Paper Basket craft. Here, I have given step by step details of how to make this DIY Paper basket craft.
All the steps and images are mine and copyright protected. You cannot use or modify it without informing me.
Related:
How to make DIY Paper Basket craft
Things you will need:

- Red, Violet, Orange, and Yellow construction paper.
- Yellow Paint
- Black sketch pen or Marker
- Fevicol
- Scissors
- Pencil
- Rubber

Here are the steps you can follow to make DIY Paper basket:
STEP 1: Take a yellow paper and fold it into three parts and then just unfold it. You just need to do it to get the crease on the paper. Look how I have done it below.

STEP 2: Now make two cuts on either side of the paper.

STEP 3: After cutting both the sides, what you'll have will look something like this.

STEP 4: Now take the two cut out sides and stick it onto each other.


STEP 5: Now take the paper in the center and glue it to the others. Repeat the same procedure with the other side as well.

STEP 6: Take a piece of red origami paper.
STEP 7: Draw a flower on it using a pencil and then cute out the edges. You will get flower templates. Cut 5 flowers just like this one.

STEP 8: Take some yellow paint on your fingertip and dab it at the center of the flower. Do this for all the flowers that you've just made. And then allow it to dry out for a while.

STEP 9: After the paint has dried out, take a black marker or sketch pen and then draw smiling faces on it. You can go ahead and use your creativity to make any kind of smiley faces here. I have done a combination of closed and open eyes.

STEP 10: Take cut out four strips of color paper of 11 inches. Remember two should be thick and the other two shall be thin. Here I have to take two violets and two orange colored paper.
STEP 11: Now you will just have to stick the thin strip in the center of the thick strip of paper. Just look below for elaboration.

STEP 12: After this dries out, you will just have to stick it on either side of the basket to make the handle of your basket.


STEP 13: Also stick the criss-cross point of the handles.
STEP 14: Now, you just have to stick the flowers on the edges of the paper handle on all four sides.

STEP 15: Also go ahead and stick one flower in the criss-cross point of both the handles at the top.

Finally, your DIY Paper basket craft is ready.
Here's a quick recap of the steps if you miss out on anything. I am telling you, this craft will get you so many praises that you will want to make more of these. And it's so easy to make. You can easily make one in an hour or half.

You can fill it in with some sand and then put in fake flowers in it, and then use it as a centerpiece. Or you can fill it in with chocolates and give it to kids.
Also, they are just the perfect party favors. I always prefer organic favor than anything expensive. Also it's not very loud and gaudy. You can even put in a small sapling inside this and give it as favors. Organic favors are so much more personalized.

What you do with your basket is up to you.
However, I'm sure you've had so much fun making this. If you haven't, then you should!
Thank you so much for visiting HikenDip.Com. Hope you had some fun crafting time with me. Please stay in touch. Follow me on my social media handles here on Facebook, Twitter, and Instagram. Until next time.
Spread joy & love! 🙂
