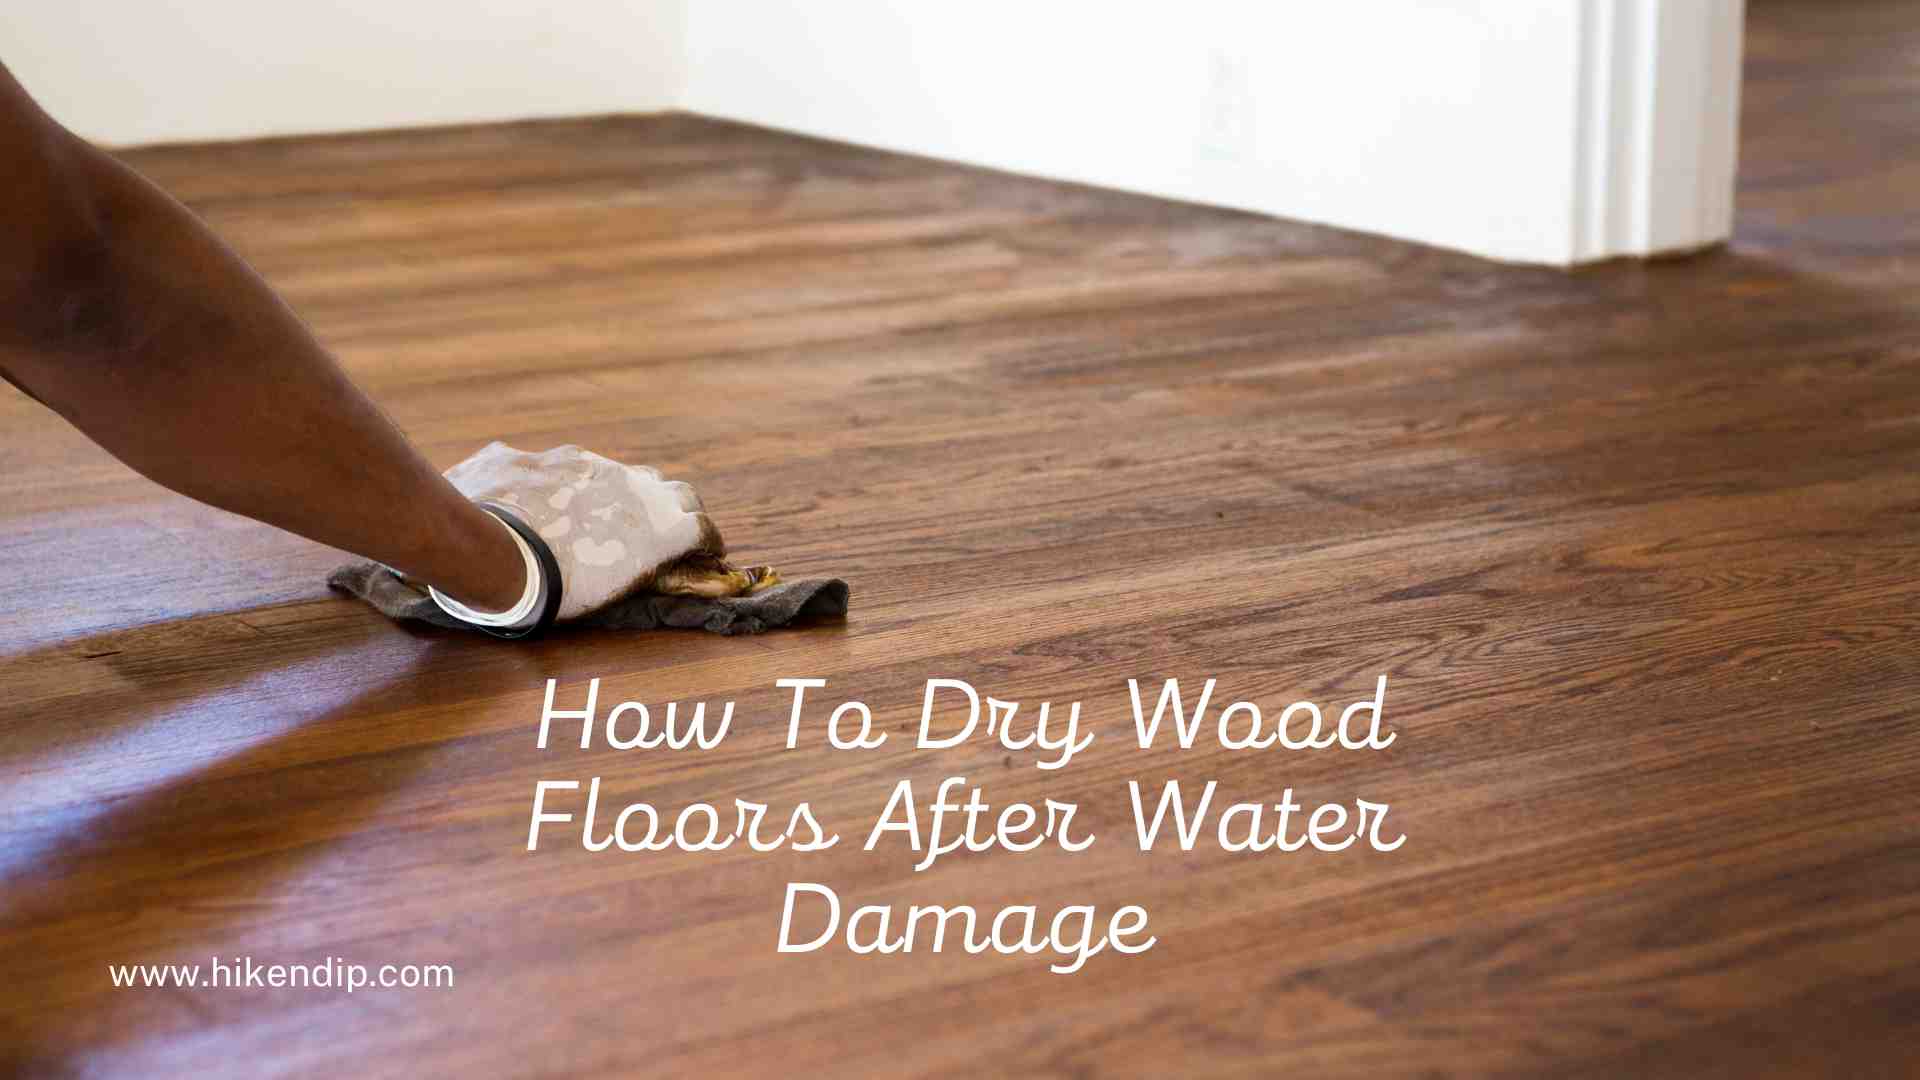
Wooden floors are a great way to add style and character to your home. They’re versatile and highly durable when properly maintained. However, wood floors don’t do well when exposed to water because of their porous nature, meaning it easily absorbs water.
Once the water has accessed your wood floor, it might develop dark stains or start to buckle, cup, or bulge. Therefore, when water comes in contact to your wooden floors, it’s vital to dry them right away to reduce permanent damage. To help you out, here’s how you should dry your wood floors after water damage.

Jump to:
Get The Required Materials
The first step of drying your wooden floors is gathering all the materials required to accomplish the task. This includes a scrub brush, stiff brush, bucket, dehumidifier, rubber gloves, cleaning rug, squeegee, wood cleaner, wet vac, fans, flooring nails, hammer, and disinfecting cleaner.
However, if you reside in Melbourne and are unsure if you can handle the procedure successfully, consider visiting waterdamagespecialist.com.au/melbourne/ to hire professionals trained to perform water damage restoration procedures.
Remove Water-Soaked Items And Floor Coverings
To effectively dry your wood floors, you’ll need to remove everything out of the way to get direct contact with the wet wood. Also, wet rugs and furniture will continue to shed water into the wood, which can result in greater damage.
That said, ensure to remove wet carpets, rugs, furniture, and other items from the room and put them outside to dry while you work on the floor. However, if your items have been soaked beyond repair, consider discarding them to prevent mold and mildew problems.
Remove Any Visible Water
The next step is to remove as much standing water as possible. If the water is in large amounts, consider using buckets or a water pump to remove the water. But for small amounts, use mops and towels to suck the water. You can also use a wet vac to suck up water until there’s no visible water left. But remember to empty the wet vac frequently to prevent water from seeping back into the floors and to make the suction strong. Continue using the wet vac even when there’s no standing water, as water may be lurking between plank seams and wood pores.
Scrub The Surface
Before the floor starts drying out, clean it with a stiff brush, disinfectant, and plenty of water. This is because mud, dirt, silt, and other debris may be trapped on your floor. Scrub the entire surface until all the debris and other residues are completely removed. Then suck up the water and dry the floor as you did in the previous step.
Using a wood cleaner, clean the floors once again to remove the remaining residues and to remove the leftover disinfectant. Then rinse the floors with plenty of water and dry the surface.
Remove Several Boards
When wooden floorboards get wet, they expand. Therefore, removing several boards allows the floorboards to expand without cracking or buckling. It also allows air to circulate through the floors, thus speeding up the drying process.
The number of boards you’ll remove depends on the extent of the water damage. If one board is damp, you can remove it and set it aside for it to dry. However, if the water damage is extensive, you can remove the whole section or one board every five feet.
Completely Dry The Floors
Although the wood floors may appear dry, water may have penetrated through the wood and can’t be removed by wet vacs. Therefore, place a dehumidifier at the center of the room and let it run for 24 hours. To speed up the drying process, use large fans to circulate air evenly through the entire space. Remember to place the fans pointing to the wet area. You can also open the windows to bring more air, but avoid doing this if the outside air is humid.
Check For Mold And Mildew
After thoroughly drying your wooden floor, you should closely and carefully inspect every inch for any signs of mold and mildew growth. This is because mold and mildew can cause allergic reactions and breathing issues if left to spread. If you find any signs of mold and mildew growth, clean the areas immediately using anti-mold products.
Measure The Moisture Content In Your Wooden Floors
The last step of drying your wooden floors is checking the moisture content left in the wood using a moisture testing meter. If the moisture content is below 5%, your floors are dry and ready for use. If you don’t have a moisture meter, consider hiring a professional.
Conclusion
Drying out wooden floors after water damage can be daunting. Fortunately, the above guide can help you dry the floors correctly. However, if you’re unsure whether you can successfully handle the task, consider hiring professionals for exceptional services. Remember, never wait for wooden floors to dry naturally since it might shorten their longevity.
